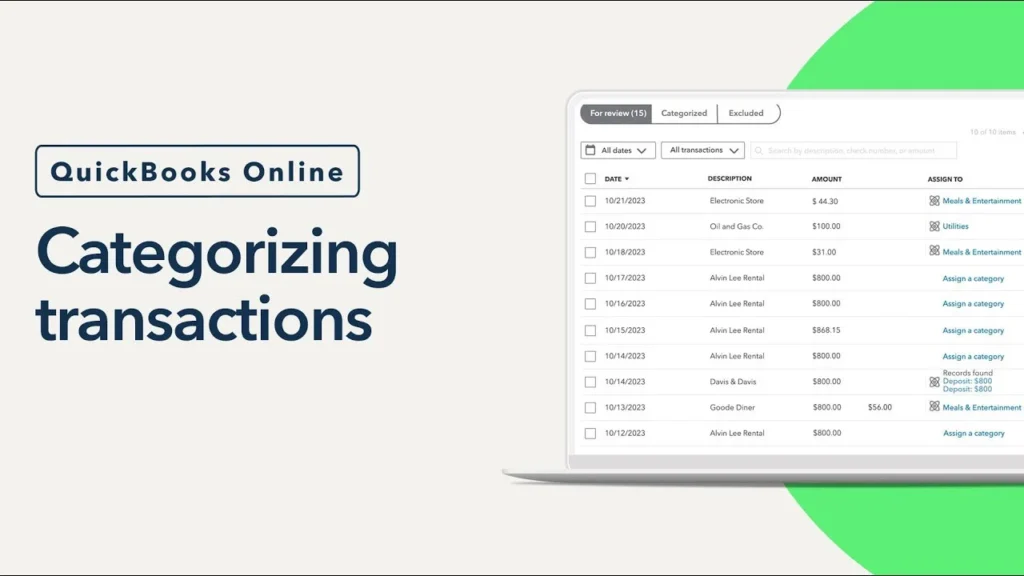
Categorizing transactions in QuickBooks for a small business involves several steps to ensure accurate financial reporting and bookkeeping. Here’s a step-by-step guide on how to do this:
1. Set Up Your Chart of Accounts
- Chart of Accounts: This is a list of all accounts your business uses to record transactions. Accounts are categorized into types such as income, expenses, assets, liabilities, and equity.
- Create/Modify Accounts: Go to the ‘Chart of Accounts’ section in QuickBooks and add new accounts or modify existing ones to fit your business needs.
2. Connect Your Bank Accounts
- Bank Feeds: Link your business bank accounts and credit cards to QuickBooks. This allows QuickBooks to automatically download transactions.
- Import Transactions: If you prefer, you can manually import bank statements.
3. Categorize Bank Transactions
- Review Transactions: Go to the Banking or Transactions menu where downloaded transactions are displayed.
- Assign Categories: Click on a transaction and choose the appropriate category (account) from the dropdown menu. This could be an expense account like ‘Office Supplies’ or an income account like ‘Sales’.
- Add Details: Provide additional details such as payee, description, and class (if applicable).
4. Create and Categorize Manual Transactions
- Create Sales Receipts/Invoices: For income, create sales receipts or invoices. Categorize each line item appropriately.
- Enter Bills/Expenses: For expenses, enter bills or expenses and categorize them to the appropriate expense account.
- Record Deposits/Payments: Manually record any deposits or payments not automatically downloaded.
5. Use Rules for Automation
- Create Bank Rules: Set up bank rules to automatically categorize transactions based on criteria like payee name or amount. This reduces manual entry.
- Edit and Apply Rules: Ensure rules are correct and apply them to relevant transactions.
6. Reconcile Accounts
- Monthly Reconciliation: Regularly reconcile your bank and credit card accounts to ensure all transactions are recorded and categorized correctly.
- Adjust Entries: Make necessary adjustments during reconciliation to correct any discrepancies.
7. Review and Adjust Categories
- Periodic Review: Periodically review categorized transactions to ensure they are still accurate and relevant. Adjust categories if business needs change.
- Reports: Generate and review financial reports (Profit & Loss, Balance Sheet) to analyze your categorized transactions and financial health.
8. Seek Professional Help if Needed
- Consult a Professional Bookkeeper/QuickBooks Certified Proadvisor If you’re unsure about categorization or need expert advice, consult a professional who can save you a lot of time and costly mistakes. They can help set up your chart of accounts and ensure accurate categorization.
Example of Categorizing a Transaction
- Download Transactions:
- QuickBooks downloads a transaction of $100 spent at Office Depot.
- Categorize Transaction:
- Click on the transaction and select the category ‘Office Supplies’.
- Add Details:
- Enter the payee as ‘Office Depot’.
- Add a description, e.g., ‘Purchase of printer paper and ink’.
- Save and Confirm:
- Save the categorized transaction.
- Review Reports:
- Check your Profit & Loss report to see the expense reflected under ‘Office Supplies’.
Tips for Accurate Categorization
- Consistency: Be consistent in categorizing similar transactions to avoid confusion.
- Use Sub-Categories: Utilize sub-categories for more detailed tracking (e.g., ‘Marketing: Online Ads’ and ‘Marketing: Print Ads’).
- Tag Transactions: Use tags or classes to further organize transactions, especially if you have multiple departments or projects.
By following these steps and utilizing QuickBooks’ features, you can effectively categorize transactions, ensuring accurate and insightful financial management for your small business.

